
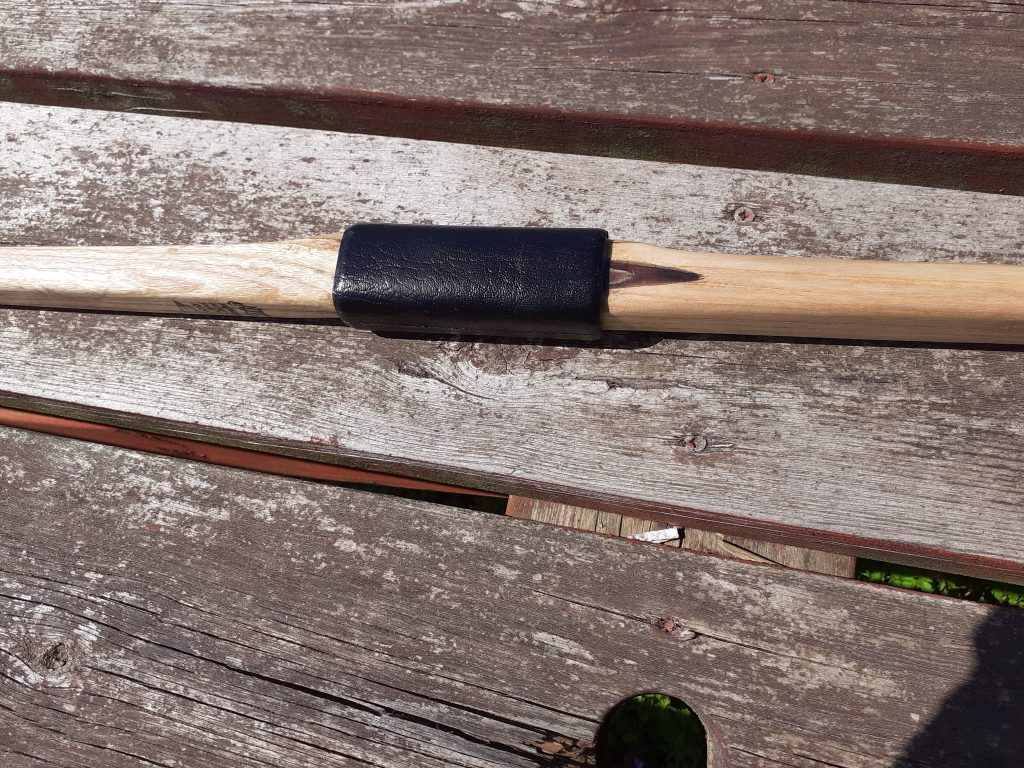
I had an interesting request from an old customer recently, a good repeat customer who has had a few bows of various types from me now over the last few years (and who obviously must like and trust me as a bowyer!). This time he wanted a take-down longbow – also known as a carriage-bow. This is a longbow that is designed to come apart in the handle with a metal ferrule/socket, so it can be transported more easily. The old term carriage-bow refers to ease of carriage – not as has been rather humorously suggested more than once, that these bows could be quickly assembled and used to defend a (horse-drawn) carriage against bandits, outlaws, highwaymen and the like! You can imagine it – ‘Excuse me Mr. Outlaw …hang on while I put my bow together to shoot arrows at you’ – or rather you cannot!
The carriage bow dates from the Victorian age of sporting longbow shooting and was created for the gentleman (or lady) shooter to carry to the shooting ground – possibly in their carriage. I do not generally make Victorian longbows, but have tended more and more in that direction in addition to my more traditional full-compass designs, as the tillering style with a stiff handle section provides more options such as spliced handle bows and indeed take-down bows. The take-down needs to be absolutely stiff in the handle!
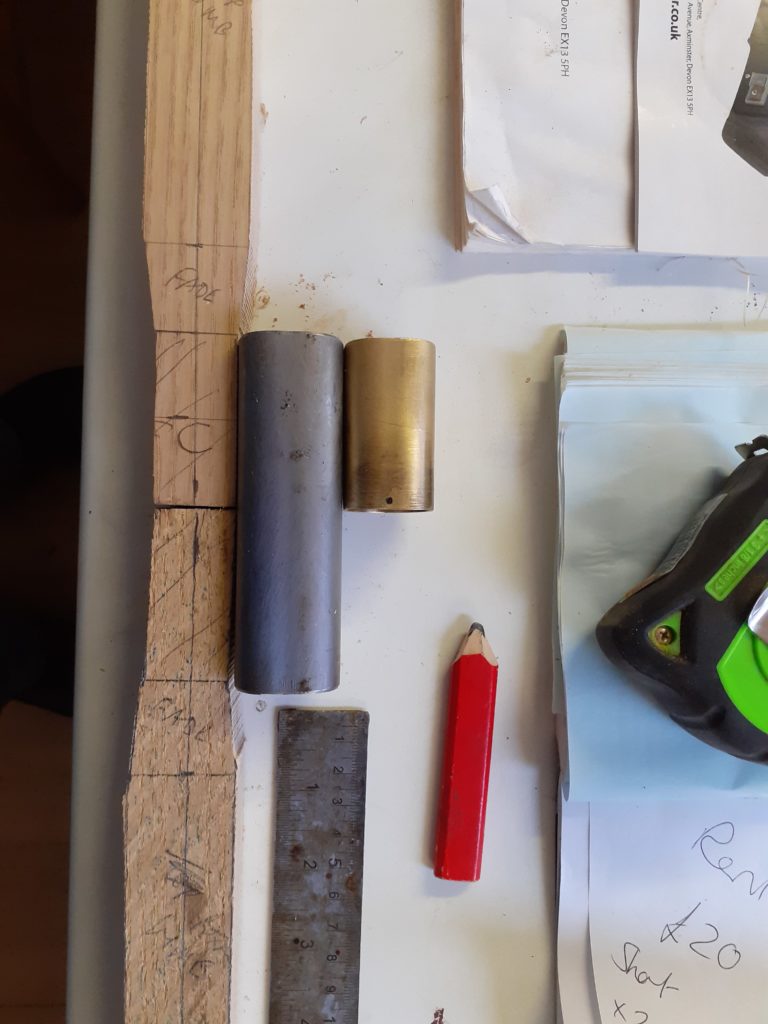
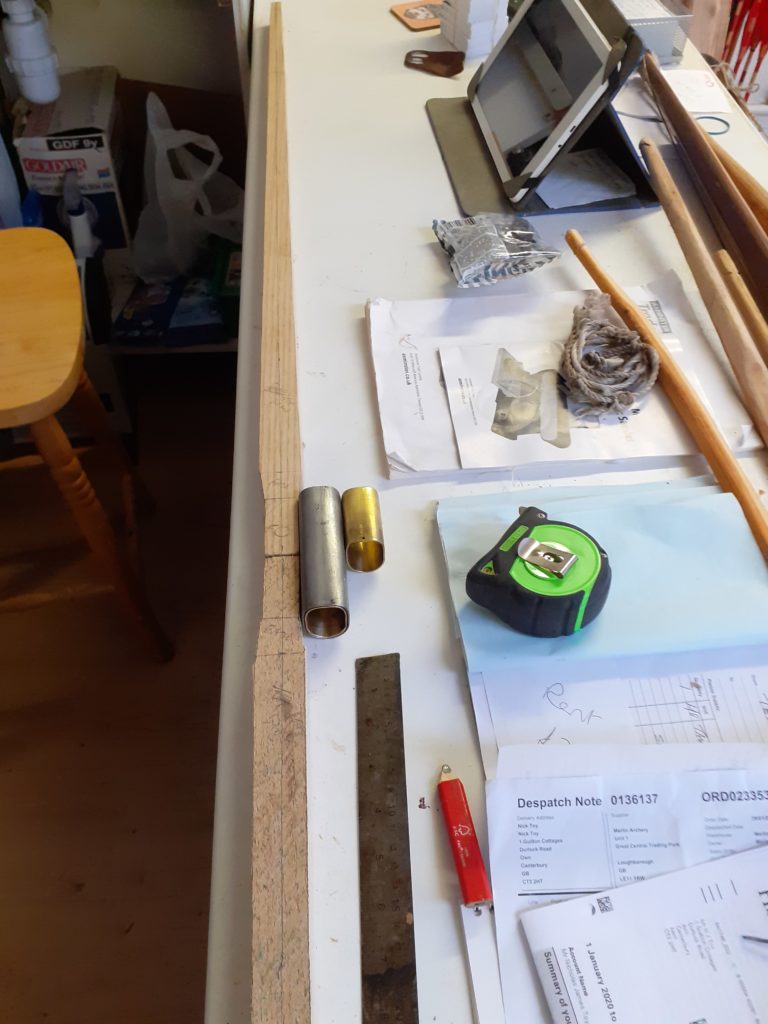
the customer wanted self-ash limbs, and that was no problem as I had plenty of that wood in the workshop. But the metal socket-joint/ferrule in the middle was a bit of a problem. I thought for quite a while about how to devise it myself with sections of steel pipe. No doubt that is possible and I still intend to some day develop my own ferrules, but for now I opted to obtain one ready made for this first take-down longbow. It would also enable me to study exactly how good ones are made if nothing else and give me something to base mine upon. I found some available from a supplier over the other side of ‘the pond’! When it arrived, it was a well made item of what looked like mild steel and brass that required some final finishing and fine-fitting from me, but was otherwise a good solid piece of metalwork.
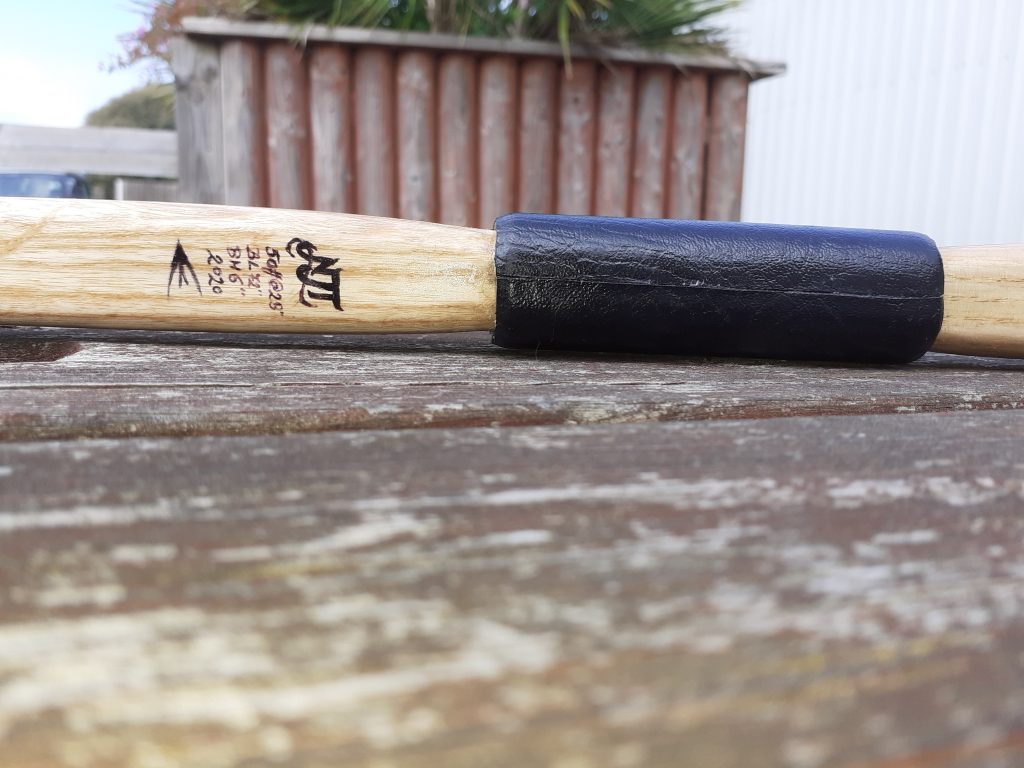
I designed the bow and roughed out each limb from two separate billets of ash. As I said, the design had to be rigid through the centre handle section and was not without risk. The section under greatest stress would depend upon the integrity of glue joints and the accurate fitting of wood and metal parts together. The customer wanted a 50lb bow – not outlandishly heavy, but the very few other bowyers I know of who offer take-down longbows will not make such a bow above this weight! And this was my first one!
It was necessary to design a good limb fade-out that allowed the limbs to bend as close to the handle as possible, but ensure that there was not bending force carried down to where the limbs inserted into the handle ferrules. We were only talking a couple of inches of wood inside each end of the metal sections.
After the handle was carefully shaped, the next stage was to bond the metal socket sections to the limbs using 2-pack epoxy – ensuring everything was straight of course! A small belly section through the handle was needed to be added to get a good fit, and was blended into the Buchanan’s dips. Then limb carving was completed after the epoxy had completely cured, and the bow put together for tillering. Nerve-wracking time! …Putting the bow on the tillering tree for the first time and applying tension. There were a few inevitable slight creaks and cracks as the glue joint ‘adjusted’ to tension. But as long as there were no ominously loud fracturing sounds, tillering would carry on. I got it to a good slack-string tiller no problem. Then to brace, and second tillering proceeded with no mishap!
Next stage …Shoot-in and finish!
Well …I have not managed to get back on here for a little while …and to cut a long story short the take-down longbow is now finished. Shoot-in went faultlessly, and was the first time I have actually shot a carriage bow of any kind. It feels different to a conventional longbow – with the extra stabilisation of the weight of the metal ferrules at the handle, and the handle has a very substantial feel to it. After that it was back on the tillering tree to check out tiller and draw weight …AOK there. So it was finished off and delivered to the delighted customer! I am now making one for his wife, except with a difference. I made this one with two separate billets of wood from the outset …the next one starts off as a one-piece bow which I will then saw in half!!
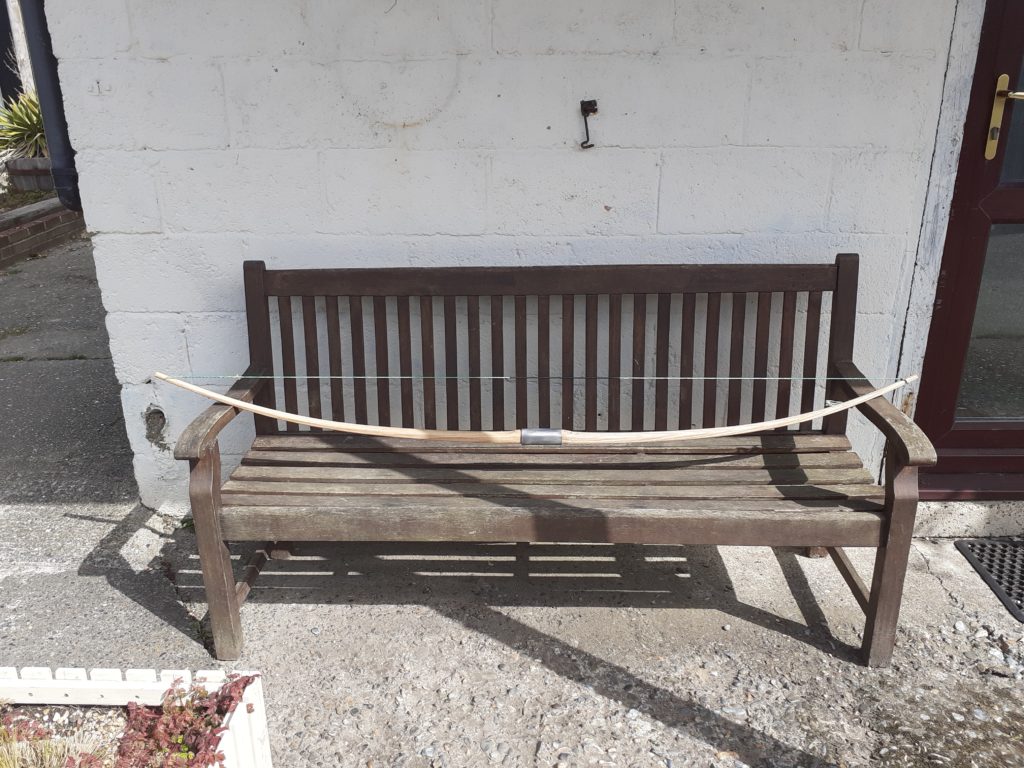
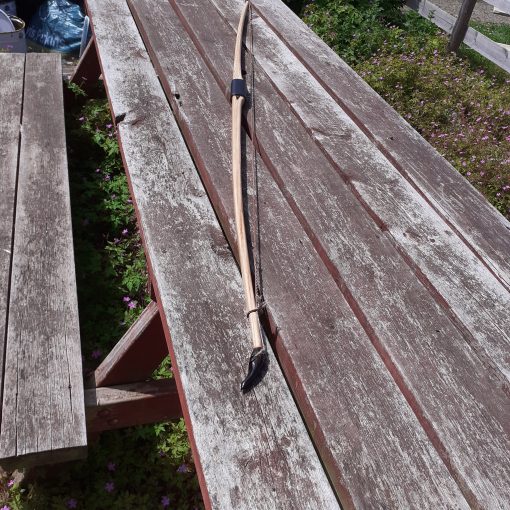
So all that remains is to post pics of the finished carriage bow for anyone who may have been following this
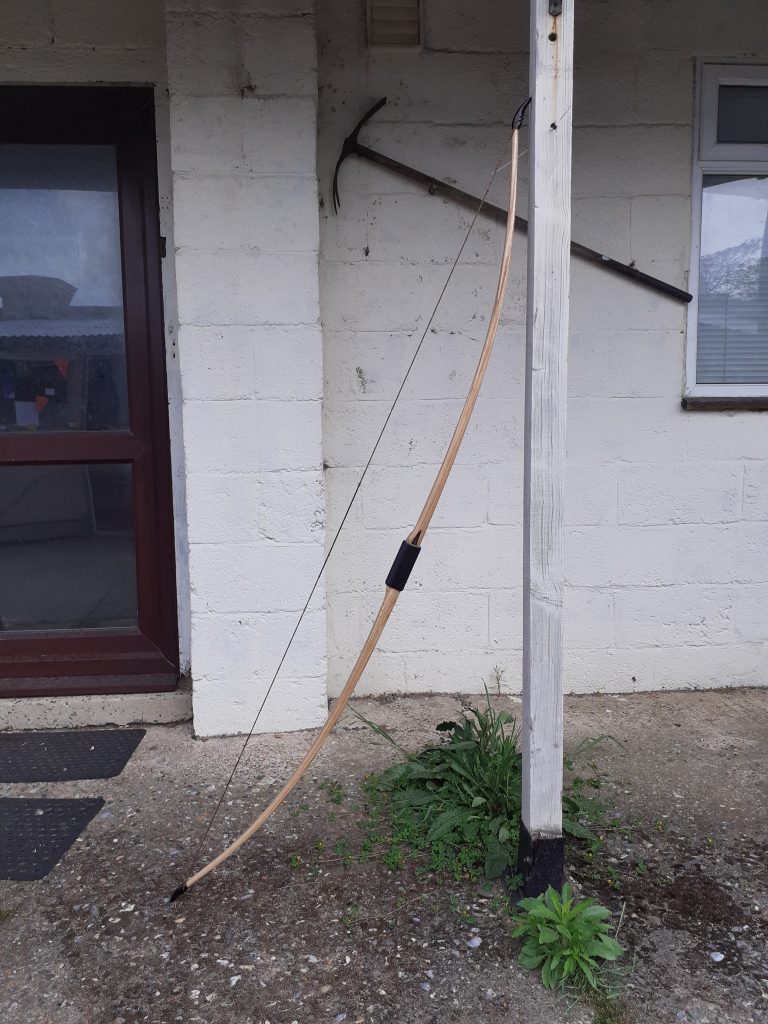
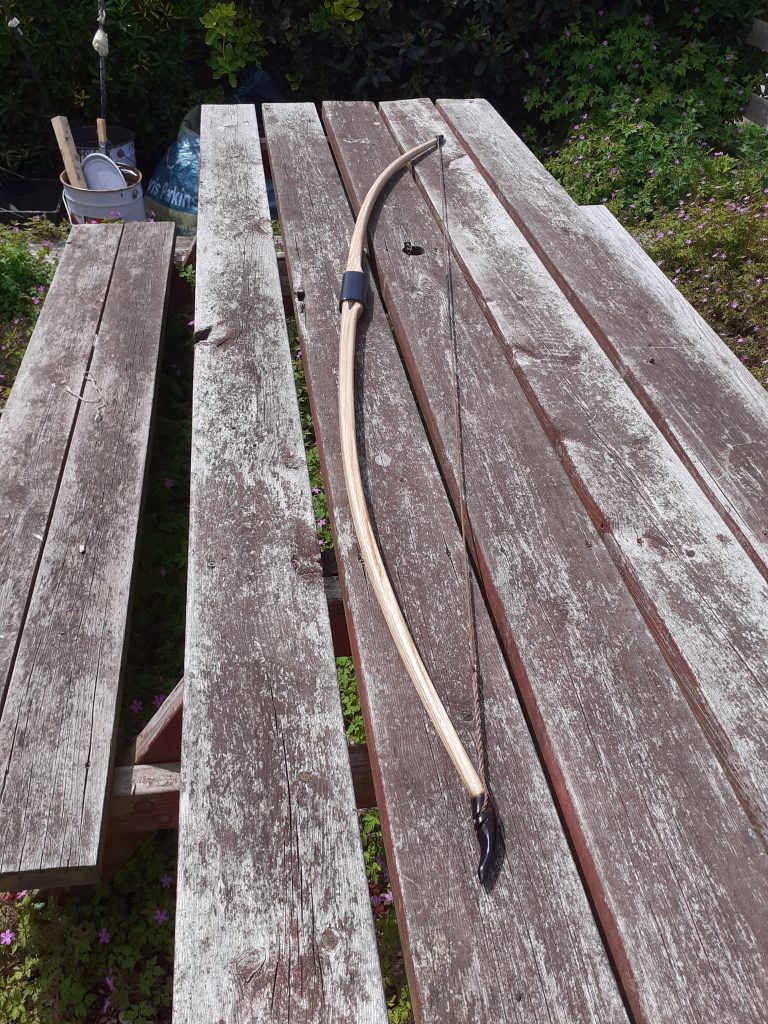
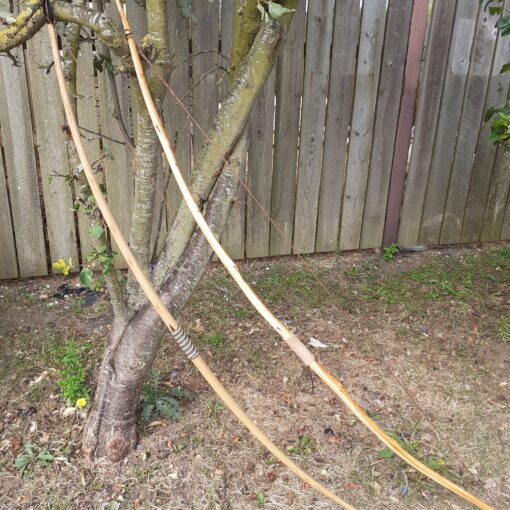
Strung and unstrung 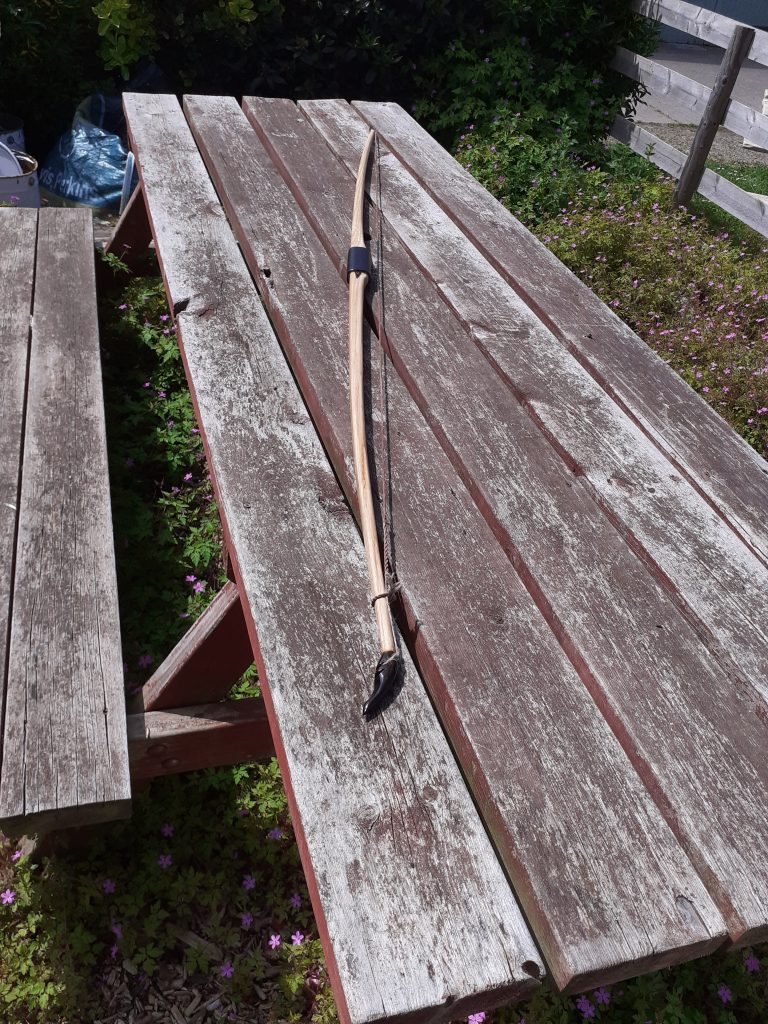
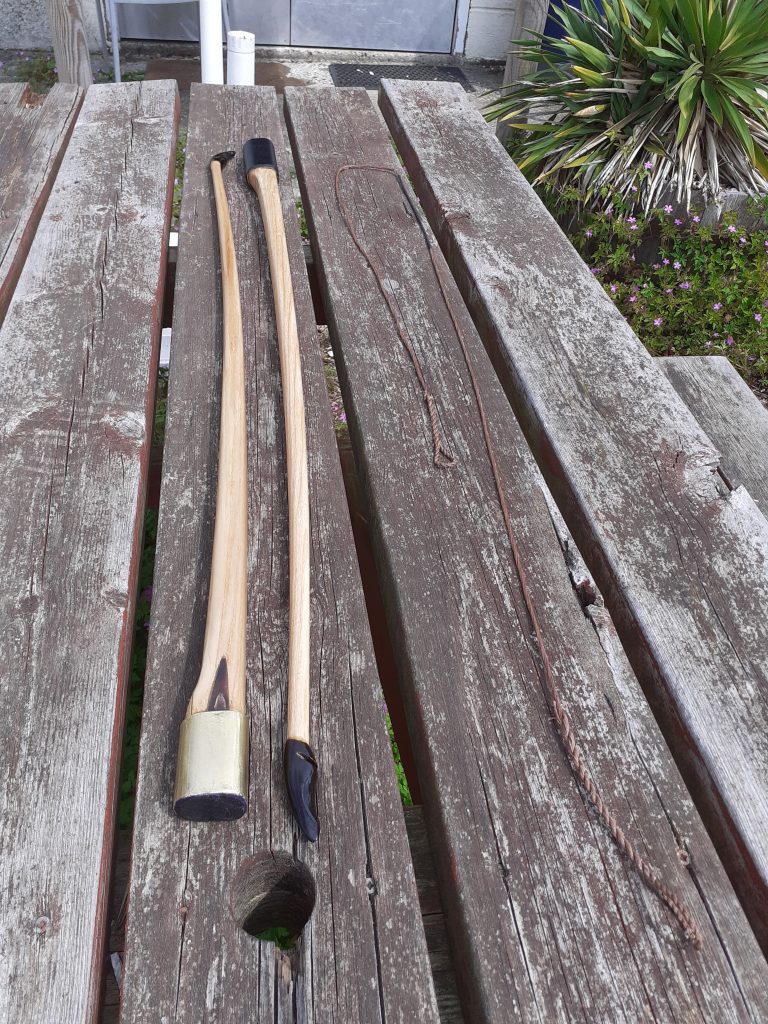
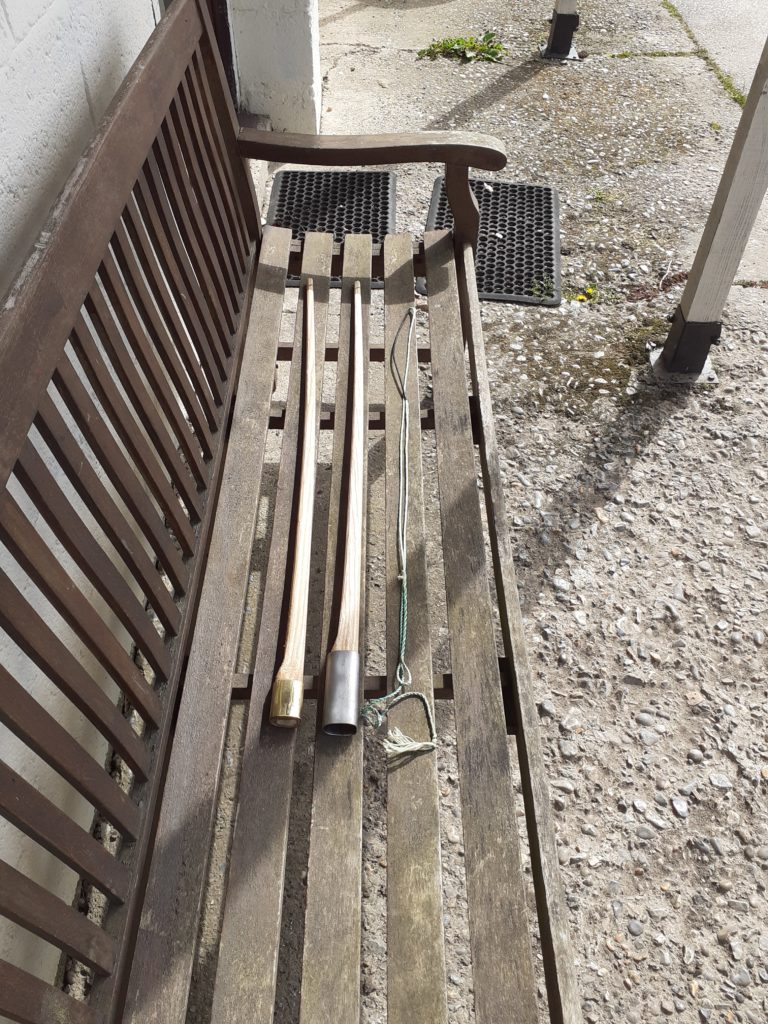
Taken down 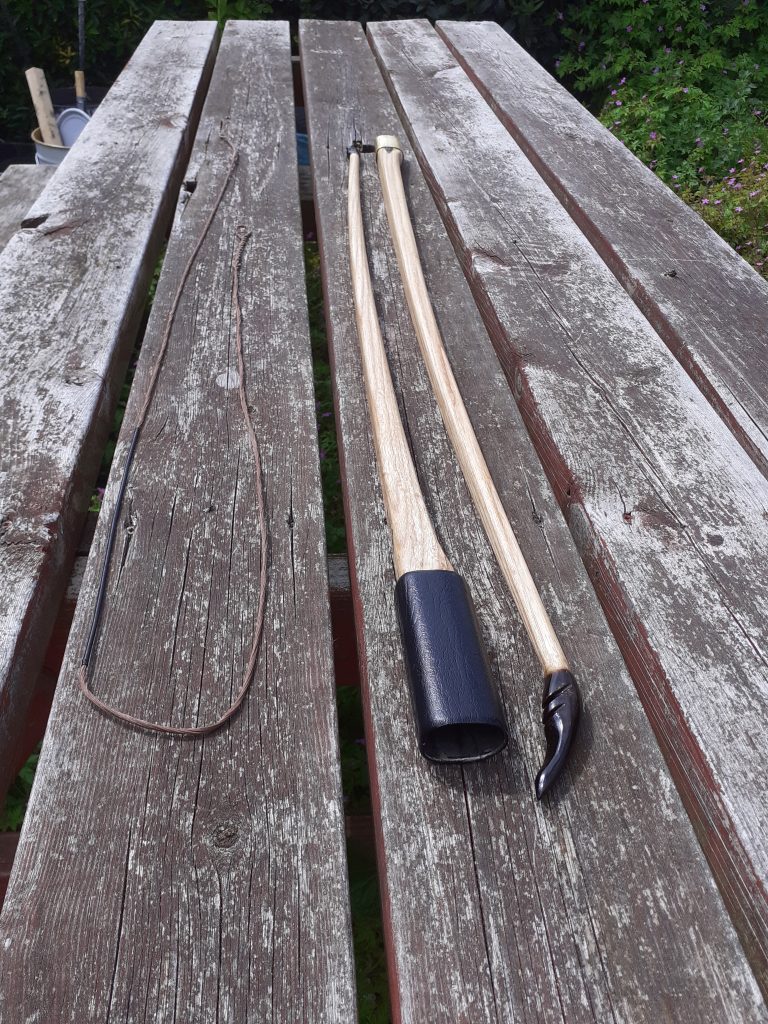


